Becoming Obsessed with a Font (yes, really!) - and Developing a 'Design Process'.
A box full of small, scrunched up pieces of paper was being shared around the room. Each student was asked to pick one. ‘What d’ya get?’ echoed around the room.
I looked down, and slowly unfolded my piece of paper.
There was one word typed on it.
‘Bodoni’
I looked down, and slowly unfolded my piece of paper.
There was one word typed on it.
‘Bodoni’
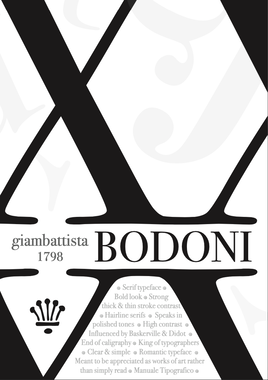
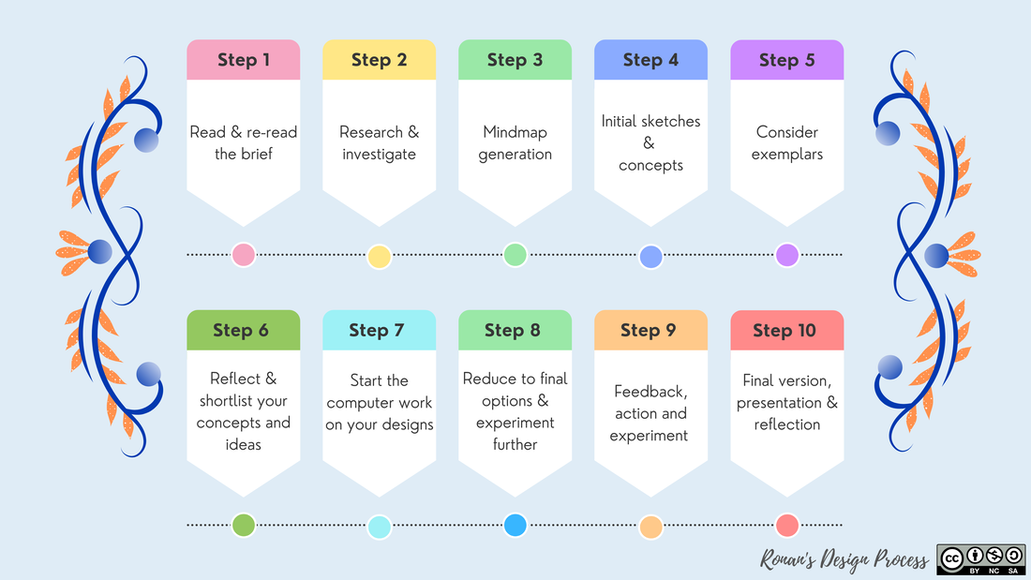
The above event took place during a graphic design course at the Dublin Institute of Design. This assignment was to learn about a particular font or typeface, and to design a poster to showcase and promote the unique characteristics of that typeface. When I reflect on the work I undertook, I can see it really did follow a design process which in the end yielded an output I was proud of. Since the course, I have used this process across various initiatives, even outside of graphic design. Filled with reflection, creativity, feedback, action and experimentation, below you can see the flow of events in this particular example, as well as some images from the various stages to see the development (just click to enlarge any of the images).
Before I outline my process and examples from each stage, I wanted you to firstly realise you have already encountered the Bodoni font! Think of how ‘Nirvana’ appears on their albums, how ‘Vogue’ appears on the top of a magazine cover, or the ‘cK’ of Calvin Klein. Bodoni is a font used quite broadly, and familiar to many already.
Before I outline my process and examples from each stage, I wanted you to firstly realise you have already encountered the Bodoni font! Think of how ‘Nirvana’ appears on their albums, how ‘Vogue’ appears on the top of a magazine cover, or the ‘cK’ of Calvin Klein. Bodoni is a font used quite broadly, and familiar to many already.
Click on any of the headers below to expand &
learn more about that particular step...
Step 1 - Read (and Re-Read) Your Brief + Get a New Sketch Book for the Project!
Read, and re-read, it at the onset and continue to revisit the project brief throughout - don’t lose site of your focus. It will ground you in case you take a few tangents. A new sketch book will keep all your work connected with a project together, and it’s easy to flick back and forth through your work (as opposed to having to locate work spread across different books).
Step 2 - Research & Investigate
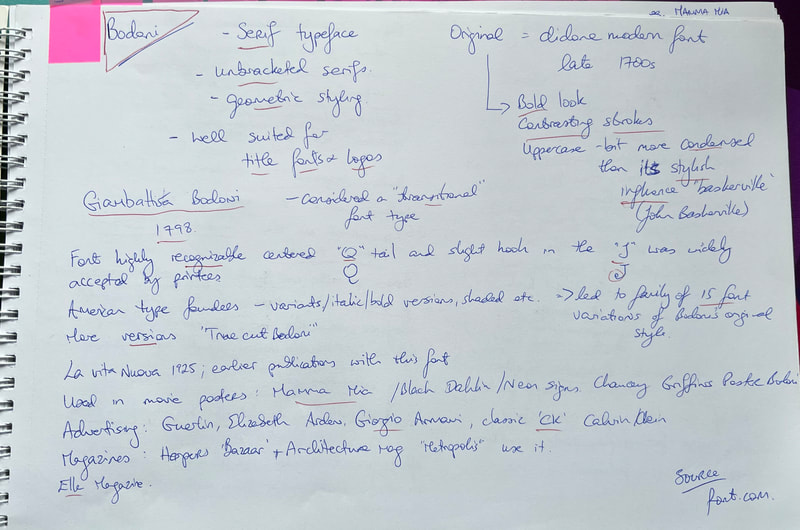
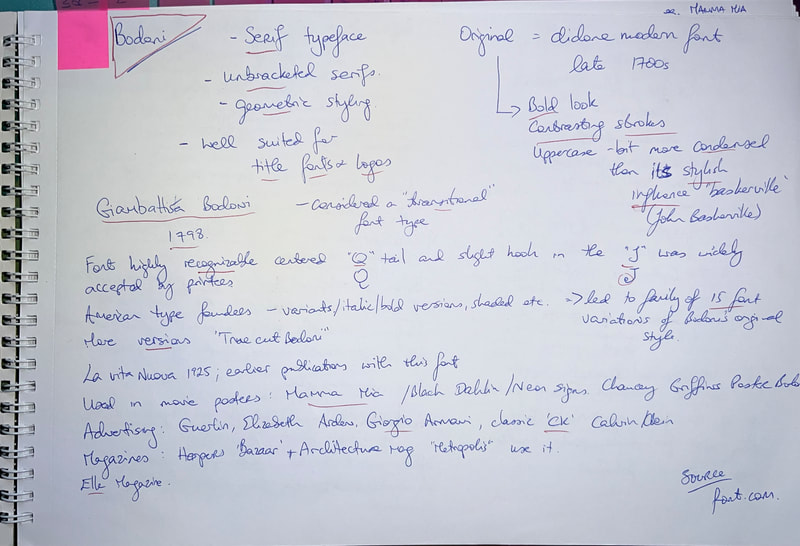
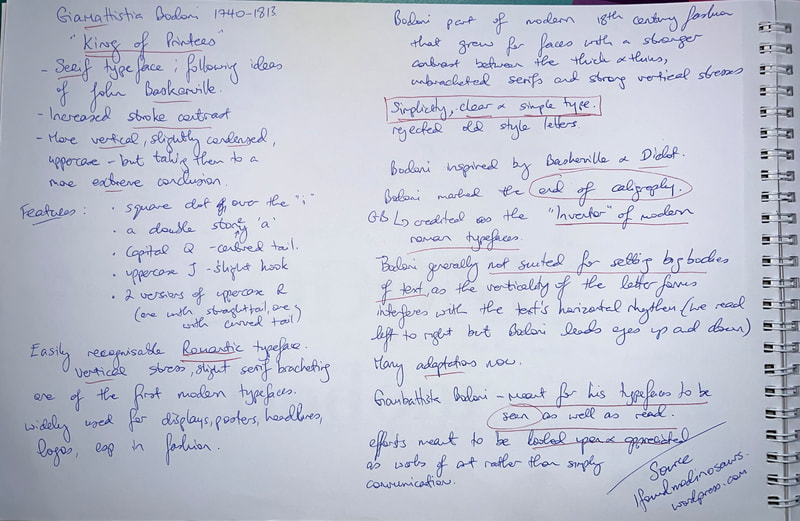
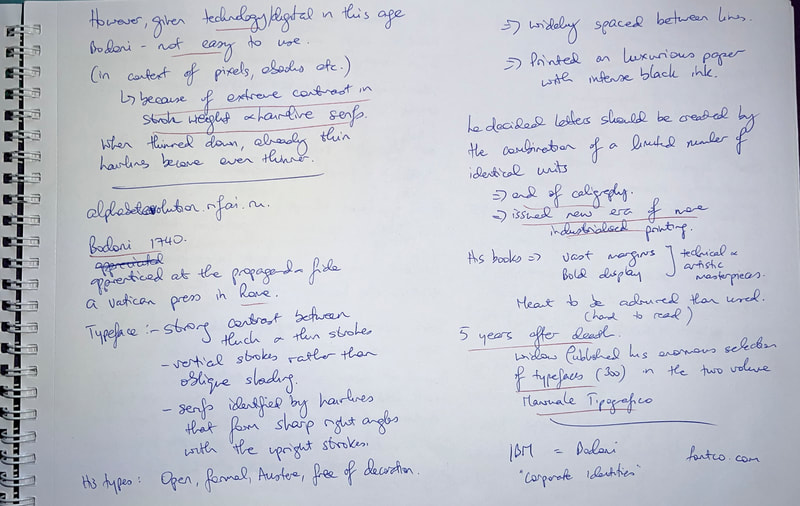
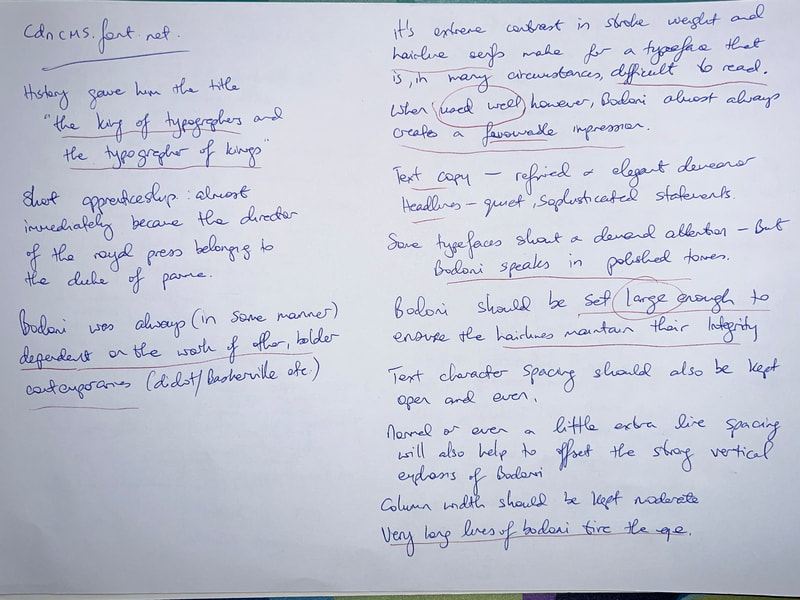
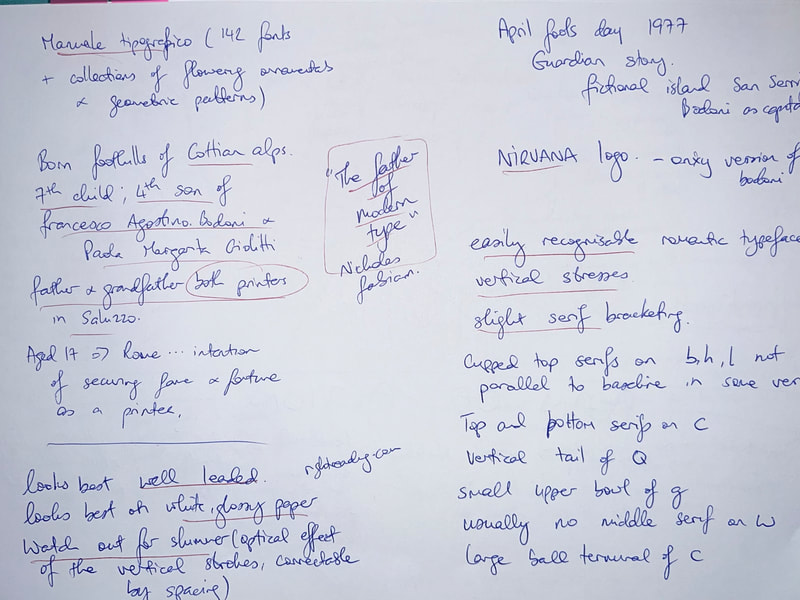
Coming from a science background, research is always key. One of the first actions on any project is a review of seminal and current literature - and this was my first action here also. I needed to learn more about this font. I kept going through several various sources until I felt I was not meeting any more new, or vital, points to note.
Step 3 - Mindmap Generation
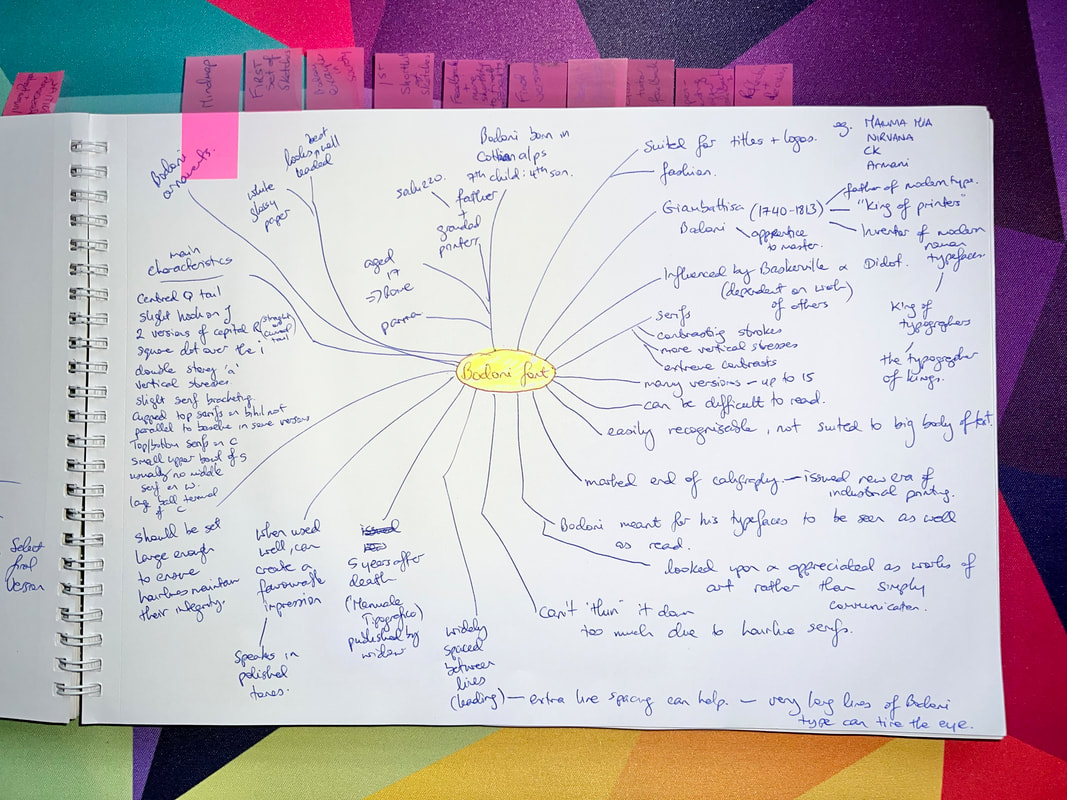
While I enjoy the research step, and finding new information - it all needs to be connected, and personally I find mindmaps really help me with this. There are superb apps such as ‘mindnode’ available, but often it’s pen and paper that help me with project work at the early stages. I can always expand to software if I need to generate a colour coded/decorative mindmap output for a certain reason.
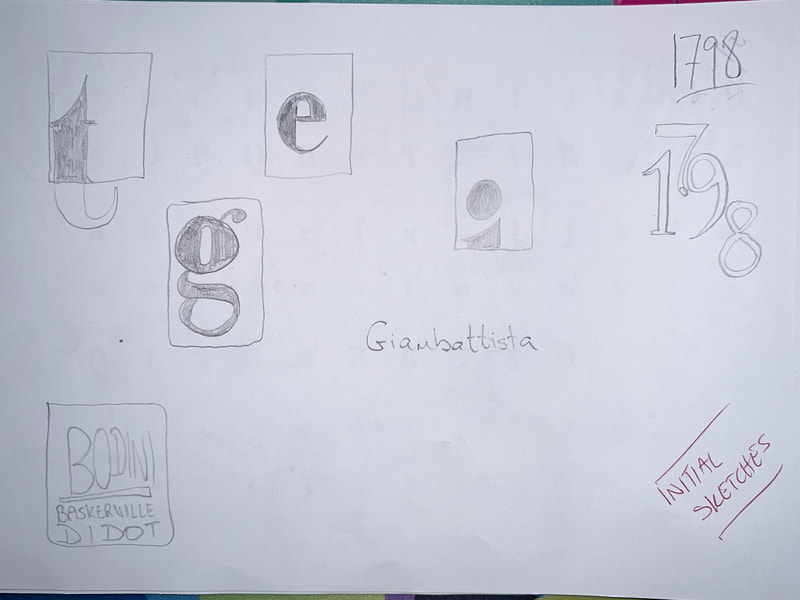
Step 4 - Initial Sketches
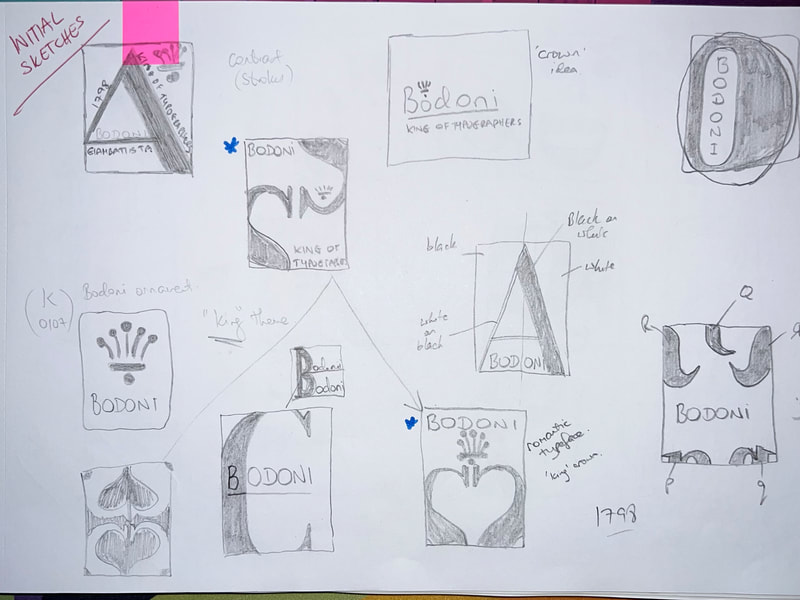
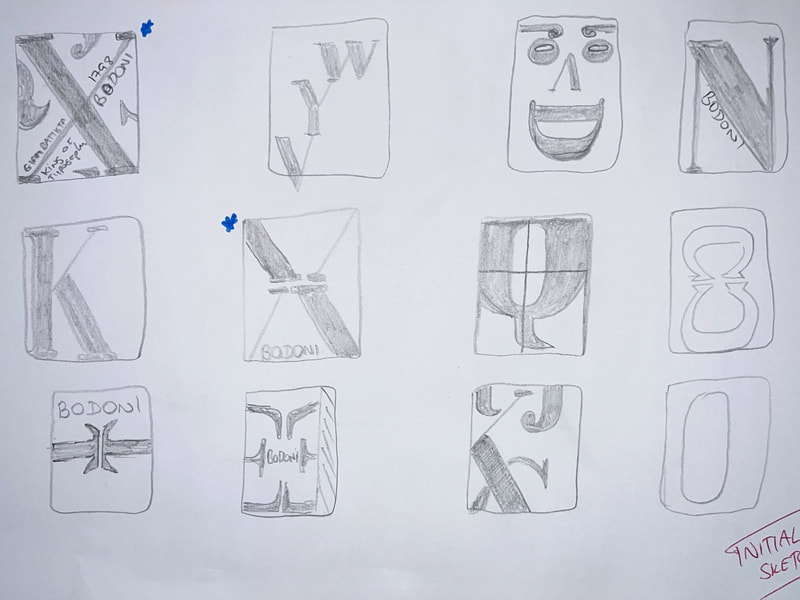
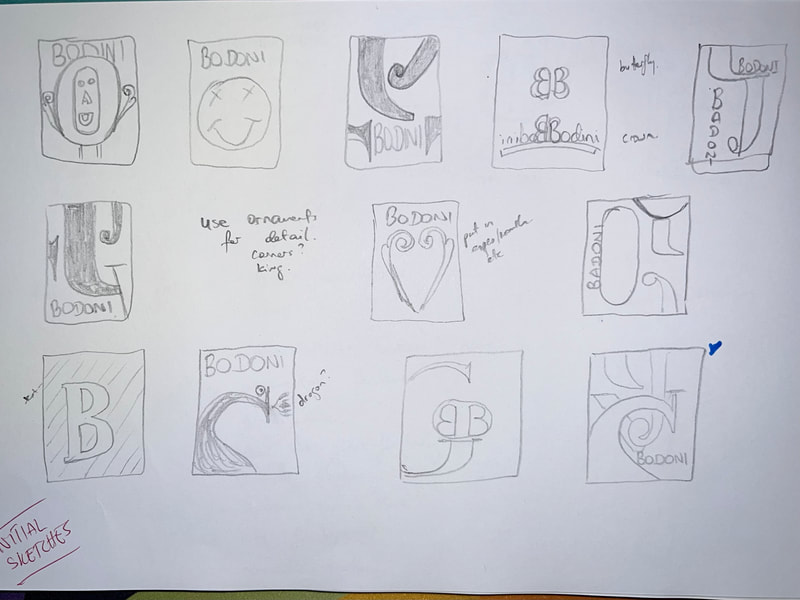
It’s here where you can reflect on your mindmap and begin to activate your creative side. Pencil, paper, colours, various materials etc. Time to test and try everything. You have a blank canvas for your ideas, capture as many as you can. I tend to start with small scale sketches, using pencil and draw from there.
Step 5 - Exemplars
It’s good to be aware of the typeface ‘in action’, in society. Looking through examples and indeed the various typeface letters/alphabet in a bit more detail at this stage can assist when you are looking back over what came from your early creations.
Step 6 - Revisit Sketches, Concepts & Shortlist
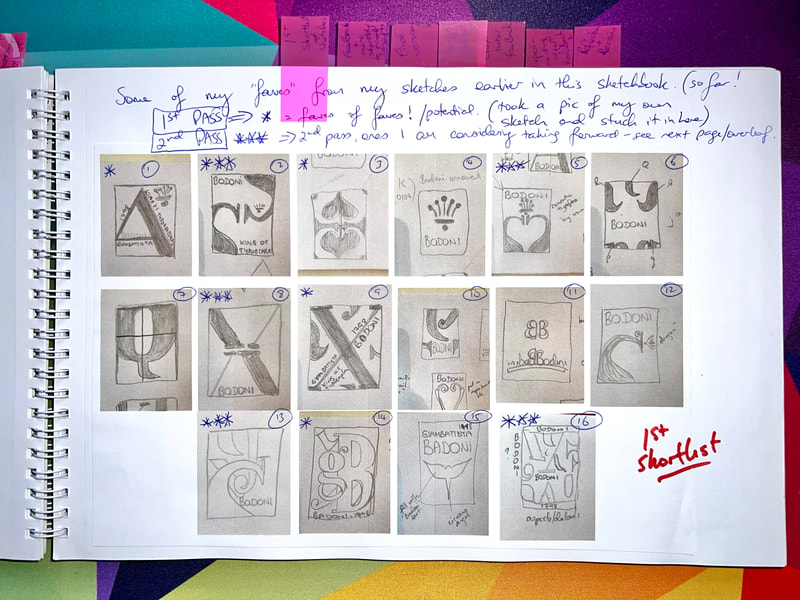
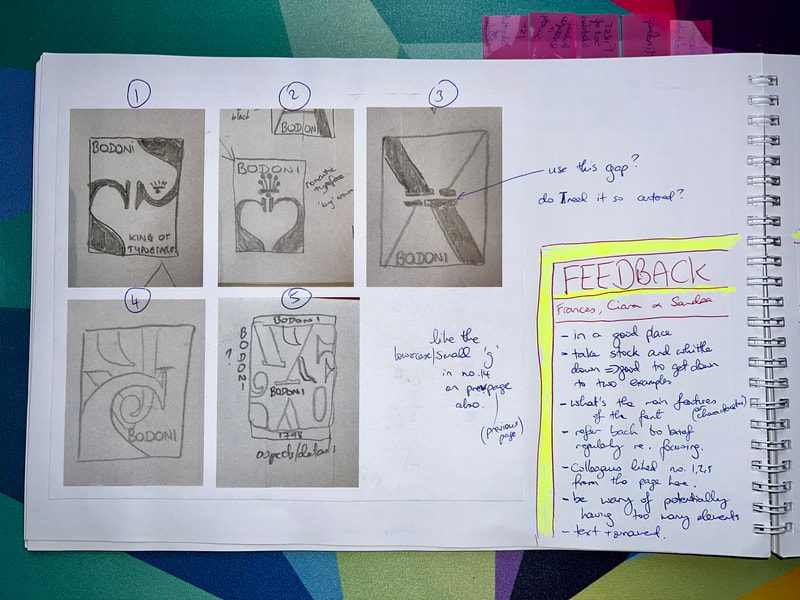
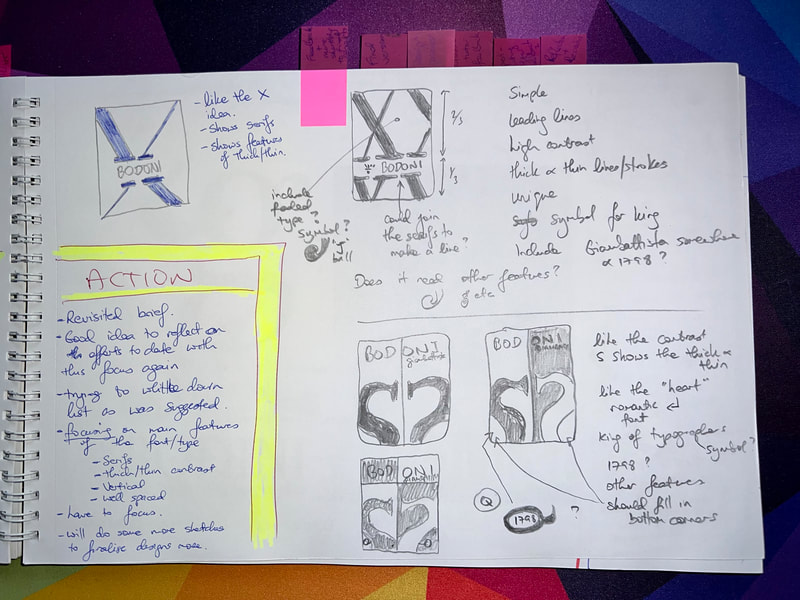
At this stage, I tried to look back over everything, a ‘taking stock’ activity. It allowed me to shortlist my initial sketches and the various versions and ‘score them’. This step helped me whittle down my selection to 5, for which I obtained independent and expert feedback. The feedback allowed me to further reflect, and develop some actions. These would lead to further versions which I could then consider. It was in some expanded sketches at this point that my final design began to emerge as my preferred candidate to take forward.
Step 7 - Bring a Selection of Sketches to be Mocked Up Using Software
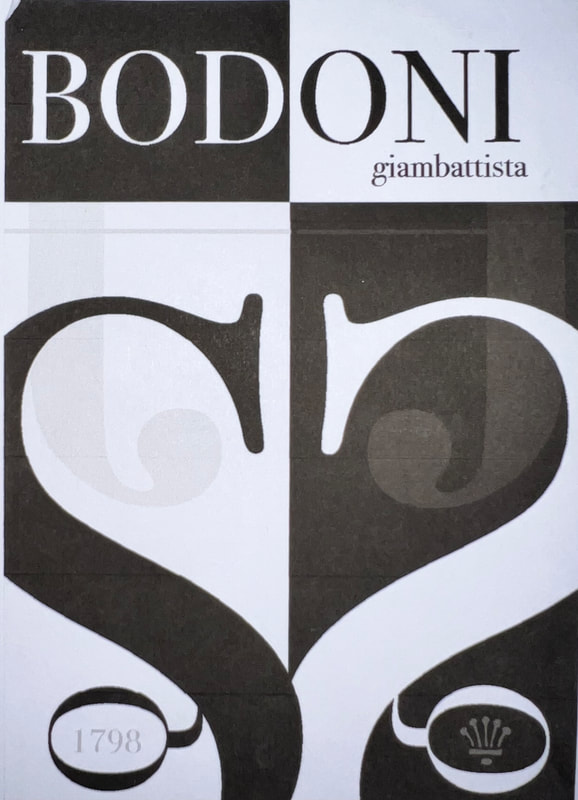
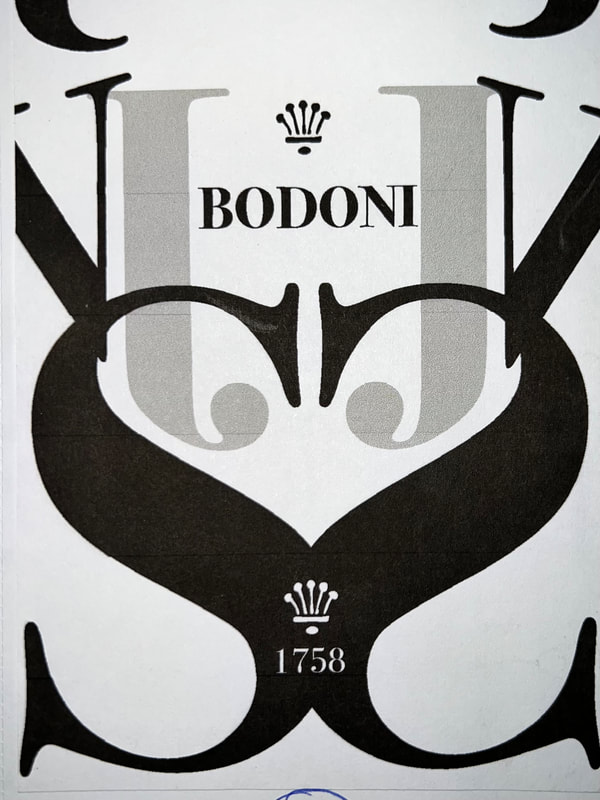
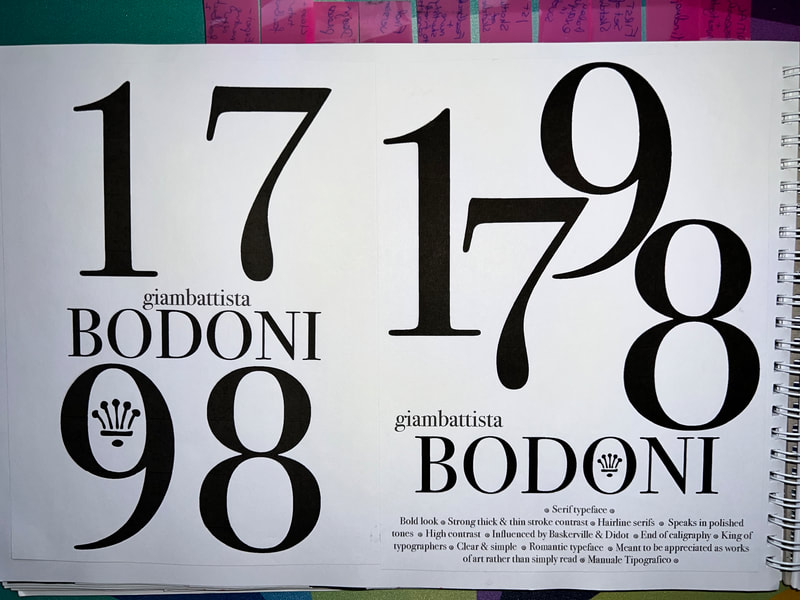
At this stage, I moved from the sketch book to Adobe Illustrator. I love how the computer comes late in the process…and how valuable the creative design process can be with simple tools initially. With illustrator, I mocked up my final four versions to see how they appear on the computer and printed also.
Step 8 - Get it Down to Final Designs - and Experiment
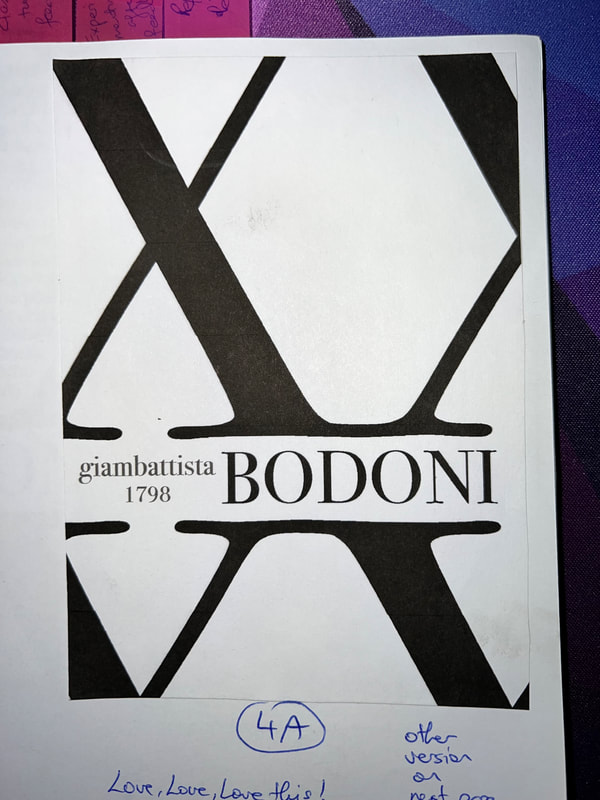
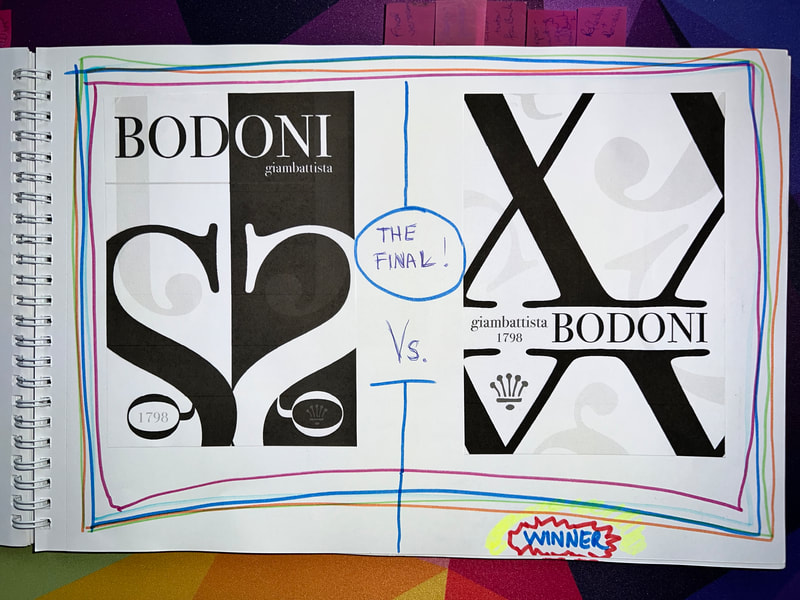
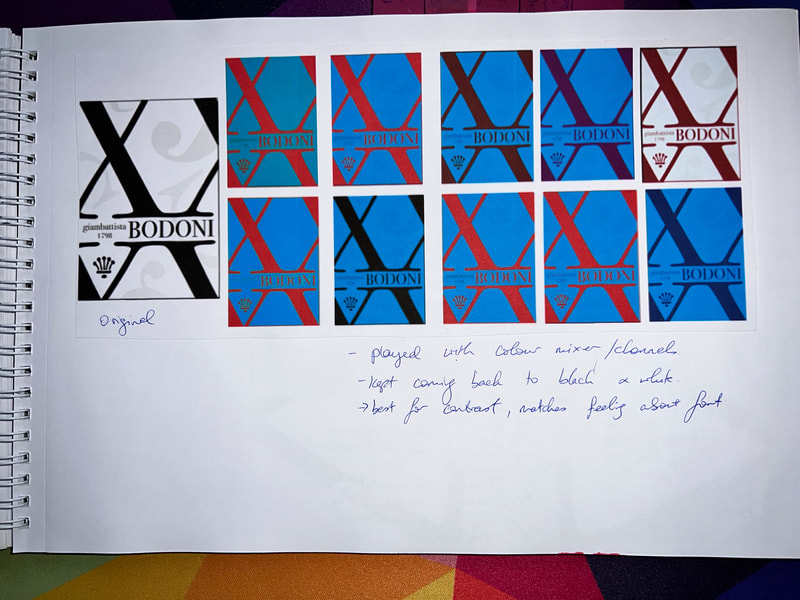
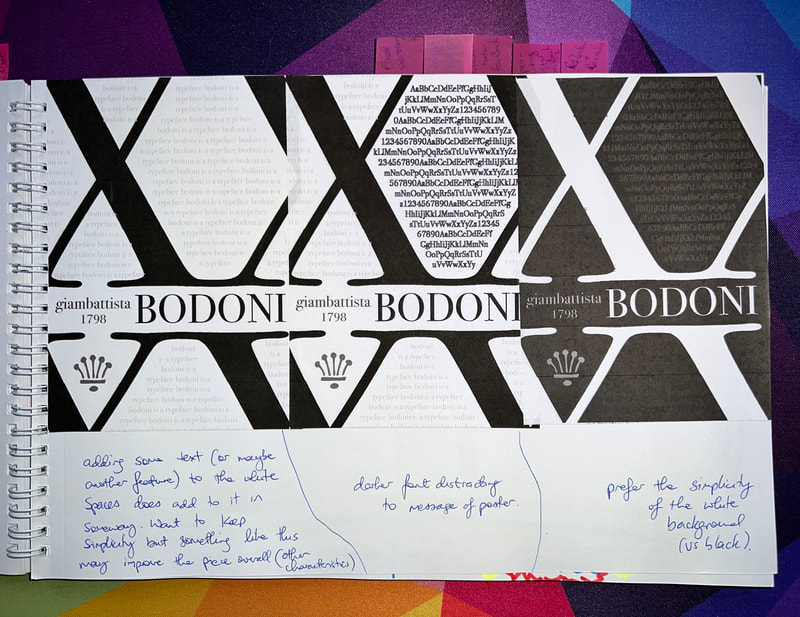
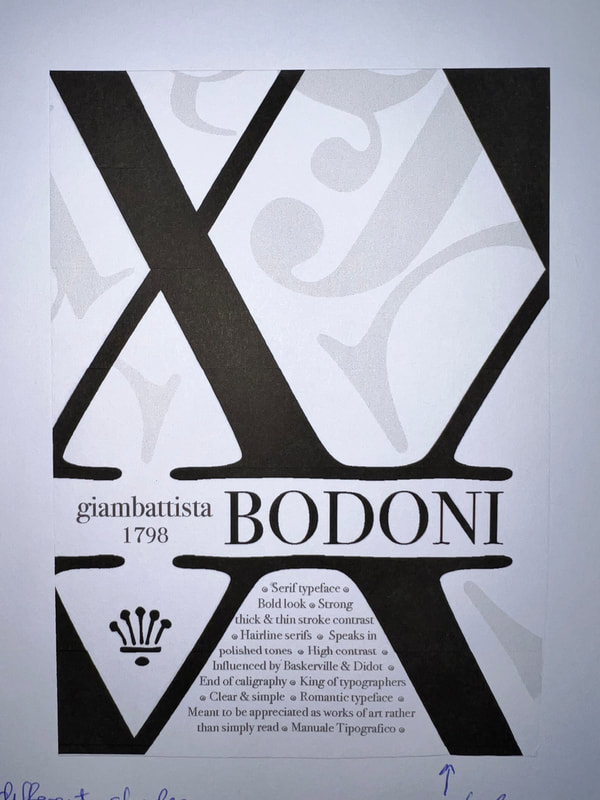
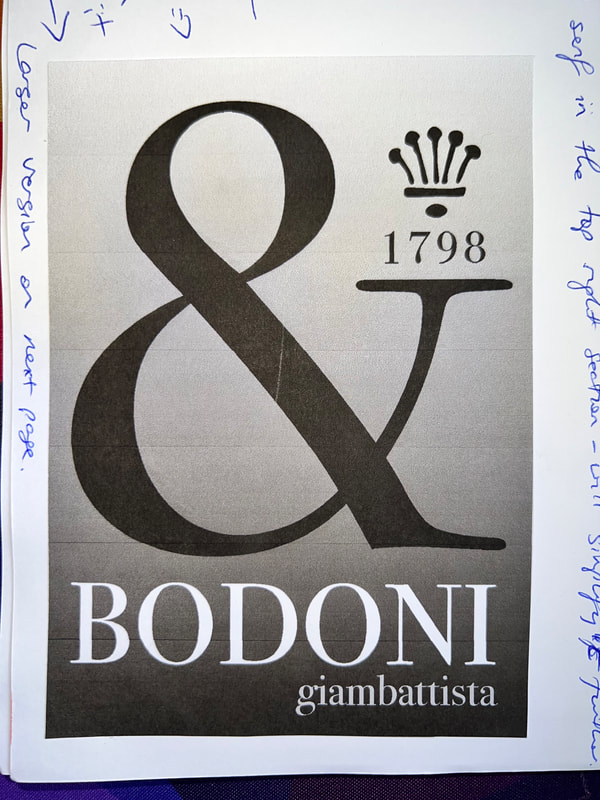
I printed each version, and critiqued each with notes. Looking back now, I can actually see on my notes ‘love, love love this! A lot of potential here” in what ultimately became my final version. I expanded on it at this stage, adding in some other elements and getting my shortlist down to two, before making me decision. I now had my final design. Once finalised, I started to play with colours and framing, but always kept coming back to my simple black and white version. I revisited the project brief again, and one other element jumped out to me - hence another small addition to the design that I felt would subtly add to it visually and more importantly, ensure I met the brief.
Step 9 - Feedback & Action
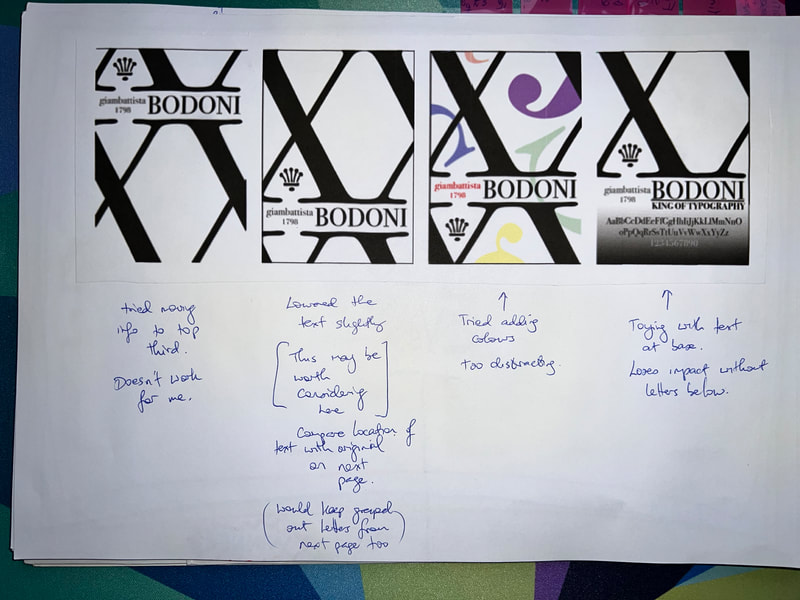
At this stage, when you can become quite ‘attached’ to your work, hence I obtained feedback from both peers and experts. This provided me with other viewpoints, and other angles to consider. You have to be open to this feedback, and what it did for me was allowed me to reflect and revisit some alternatives. I spent some time working on suggestions, and other alternative points people felt could be nice to consider…I even mocked them up, printed them, critiqued them etc. However, ultimately, I felt the core design was more akin to what reflected my creativity and my vision. I noted I wasn’t getting the ‘magic feeling’ from the others, which I was getting from the main design.
Step 10 - Final Version - Presentation & Reflection
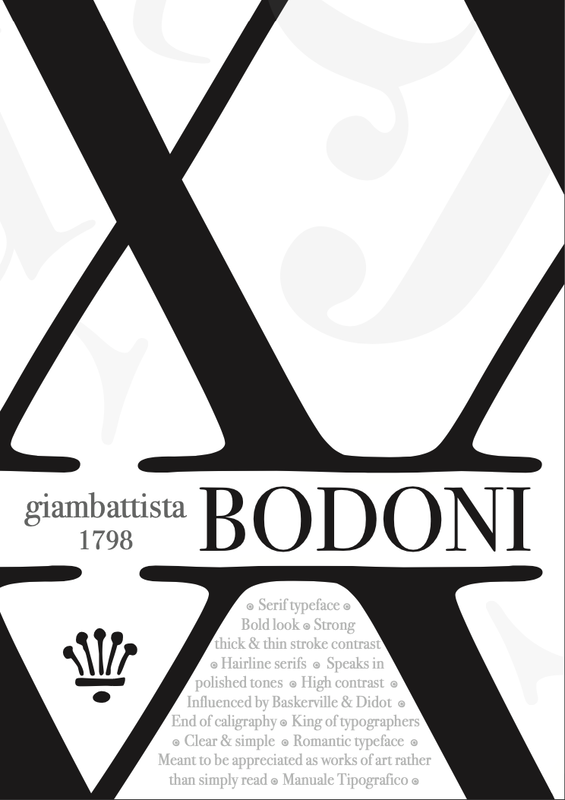
So after a few final tweaks, I was ready. I was very proud of the creative aspect behind the piece, the design process employed and very appreciative of all the work that goes in to designing a typeface.
My final version was printed on high quality paper, mounted on a board and submitted. I also got the chance to present my work to the class, to showcase the piece and importantly detail my thought process behind it and highlight the features included. Was very fortunate to have wonderful class mates and inspirational lecturers. Sending them all some virtual gratitude as I write this!
...and yes I have a version of my final version framed on a wall at home to remind me of the experience!
Summary below ⬇️
My final version was printed on high quality paper, mounted on a board and submitted. I also got the chance to present my work to the class, to showcase the piece and importantly detail my thought process behind it and highlight the features included. Was very fortunate to have wonderful class mates and inspirational lecturers. Sending them all some virtual gratitude as I write this!
...and yes I have a version of my final version framed on a wall at home to remind me of the experience!
Summary below ⬇️
Summary
So that is my story about how I worked through a design based process on a project centred on a specific font or typeface. Elements of the process I present here are very translatable to any piece of work, irrespective of the discipline and format. From this project, I became quite fond and appreciative of typography, its importance and how we actually engage with type every day (for example, next time you are on a shop street, observe the various fonts selected above storefronts and how they often complement the type of business/shop it is). I’ve since purchased a book on typography and it’s something I consistently enjoy picking up.
So that is my story about how I worked through a design based process on a project centred on a specific font or typeface. Elements of the process I present here are very translatable to any piece of work, irrespective of the discipline and format. From this project, I became quite fond and appreciative of typography, its importance and how we actually engage with type every day (for example, next time you are on a shop street, observe the various fonts selected above storefronts and how they often complement the type of business/shop it is). I’ve since purchased a book on typography and it’s something I consistently enjoy picking up.